Big thanks to Joyce McKay for taking the time to share this great recipe with me and also sharing her experience of making it.
Initially we made 1 small loaf and 1 plait from the 4 cups of flour recipe below. As I wanted to use one loaf for sandwiches I found that it was too small. The second batch of bread I made one and a half times the amount, so 6 cups of flour. I used 1/3 for the plait and 2/3 of the dough for the 25cm round bread/cake tin. So if you want it to rise enough to have good sized sandwich bread I would suggest using 4 cups of flour for the loaf alone. You can also make hamburger rolls or bread rolls instead.
Recipe kindly shared with me by Joyce McKay.
Items you will need
- Large mixing bowl
- Wooden spoon
- Bread Loaf Tin or Baking Tray (I used a 25cm round tin the second time and used 4 x cups of flour for this one loaf)
- Baking Paper for tray
- Oil Spray for Loaf tin
- Glad wrap
- Cooling rack
- Spray bottle for water
- Alfoil (you will only need this if the plait is cooked on the top but not on the bottom, then cover the top with alfoil to prevent burning the topping).
Ingredients
- Plain Flour – 4 x cups
- Yeast (dry) – 1 Tbs
- Salt – 1 Tsp
- Sugar – 1½ Tsp
- Bread Improver – 2 Tsp (Joyce uses Wallaby brand)
- Olive Oil – 1 Tbs
- Warm Water – 500 ml (Use 2/3 of this to start then add half remaining until the right consistency)
- Joyce McKays winning combination for the topping on the plait – Spaghetti Bolognaise herbs, Fountain Mexican Chilli Sauce, Grated Tasty Cheddar Cheese.
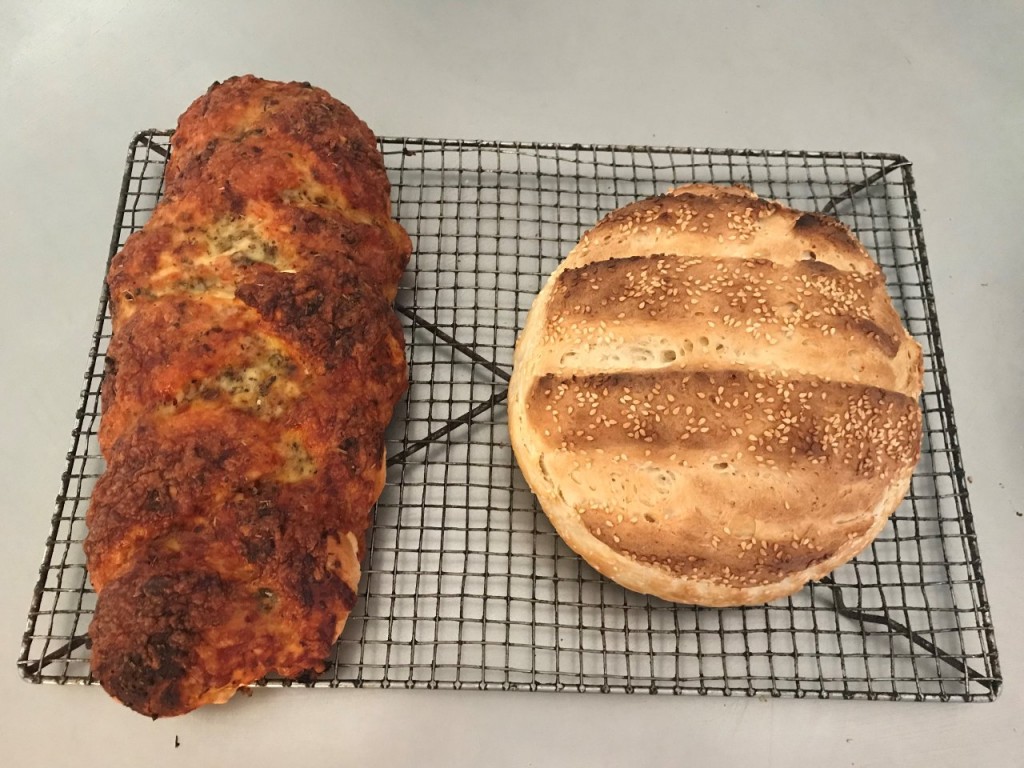
- Seeds/grains optional. I sprinkled sesame seeds on top of the loaf which worked well. Joyce also recommends a Cape Seed mix.
Method
-
Mix dry ingredients in a large mixing bowl then make a well in the middle to add wet ingredients.
-
Add 2/3 of the warm water to the well in the flour and add 1Tbs of oil then combine.
-
Continue to add half the remaining water until you reach the right consistency. Dough should be soft but not sticky. You may need to add a little flour or water to reach the right consistency.
-
Lightly flour your hands and make the dough into a ball.
-
Cover the bowl with glad wrap and set in a warm place for half an hour to let the dough rise, called ‘proving’. It doesn’t matter if it is longer than half an hour for the first proving of the dough. If you are in a cold environment you can put the bowl into warm water to help keep it warm.
-
After half an hour the dough should have roughly doubled in size.
-
Put some flour on the bench to stop the dough sticking and tip the dough out onto the floured bench.
-
Lift the edge of the dough opposite you and press it into the middle of the dough ball, turn and repeat. Continue to do this until the dough relaxes and is smooth (this only takes a few minutes).
-
Line the tray with baking paper and spray the tin with oil to prevent the bread sticking. If you are not using a non-stick bread tin, use baking baper to line this as well. Joyce shared a neat trick that you can wet the baking paper to then shape it into the bread tin rather than cutting and trimming it.
-
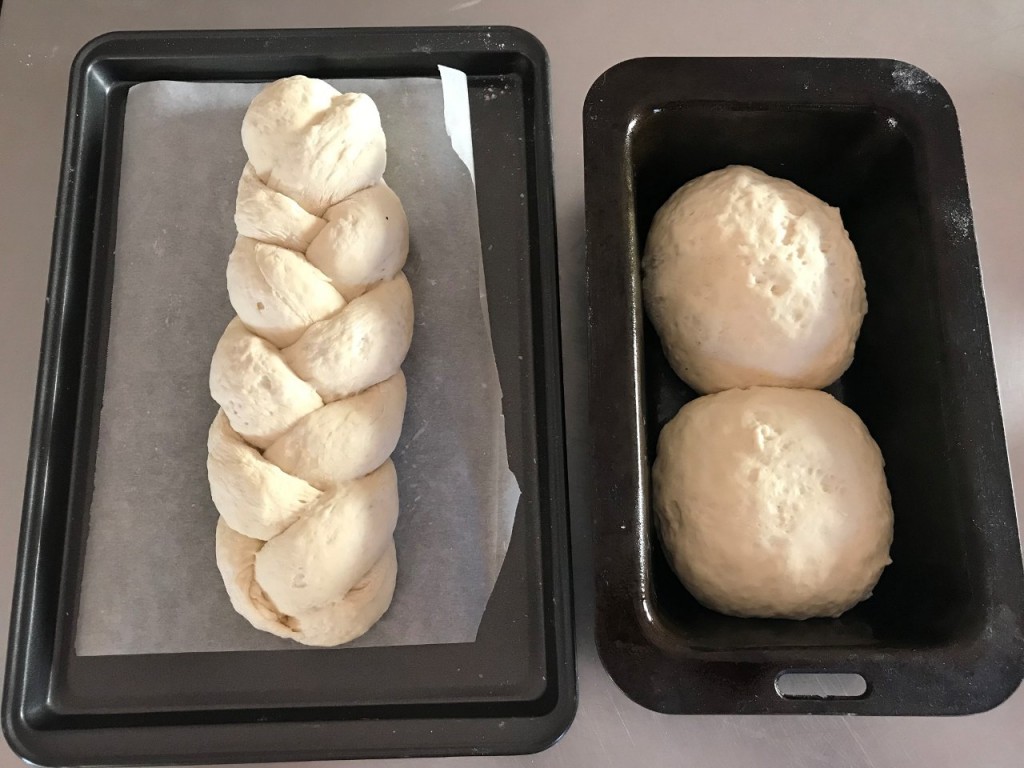
Cut the dough ball in half and form a ball with one half of the dough and place this in the loaf tin.
-
With the remaining half, divide this into three equal parts and roll each 1/3 into long sausages of equal length (approx 2.5cm diameter and 30cm in length).
-
Wet one end of the three pieces of dough with water and stick the three pieces together, then plait the dough.
-
Once the dough has been plaited, wet the ends with water and stick together, then place the plait on the tray lined with baking paper.
-
Heat the oven to 200C.
-
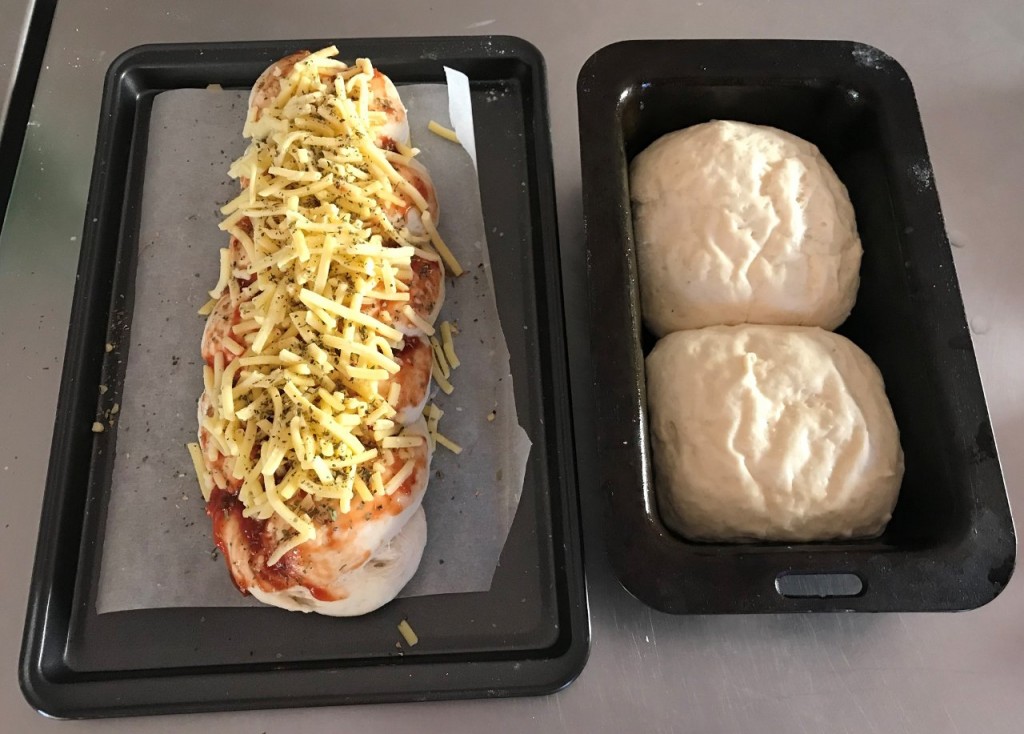
Use the spray bottle to spray the plait and the dough in the loaf tin with water, then leave for 30 minutes to rise (no need to cover). You need to ensure this second proving is kept to 30 minutes as you do not want the bread to rise too much as this is one way that can cause large holes to form when the bread is cooked.
-
After 30 minutes, spray the dough again with water to prevent it drying out.
-
Cover the plait with the Chilli sauce then sprinkle with cheese and top with the herbs. The amounts vary depending on your preference, but you can be generous with these toppings.
-
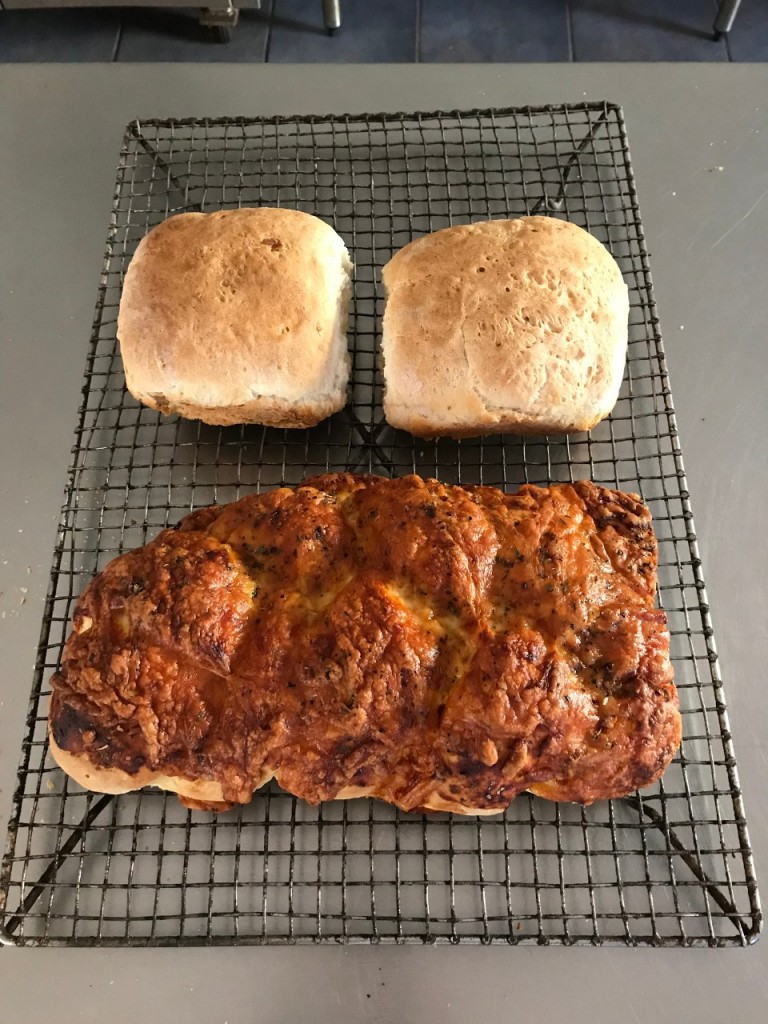
Put the bread in the oven and bake for 30 minutes, but check the bread after 15 minutes to ensure it is cooking evenly.
-
Once cooked, the bread will sound hollow when you tap it. If the sound is dense then you may need to cook the bread a little longer. Once cooked through, remove the bread from the tin and the tray and place onto an airing rack to cool. Note – If the topping is cooked on the plait but the bread underneath is not, cover the topping with alfoil and use a pizza tray with holes in it to allow the heat to get to the bottom of the bread and cook further, checking regularly.
-
Let the bread cool before you try to cut it, otherwise you will squash and flatten the bread. It is best to use a serrated bread knife for this.
-
As the bread does not have preservatives, it does not last as long as bread bought in a shop. But the recipe makes a beautiful, light loaf, so it won’t last very long anyway. Joyce slices up the plait and puts it straight into the freezer, it is really good toasted with butter on it. I found with the other loaf for sandwiches, wrap it in kitchen paper and then wrap in a clean tea towel and it lasts really well. The plait also kept well in a zip lock bag as it remains soft.
Note: You can use different types of flour and also mix in seeds with the dry ingredients, Joyce recommends using a Cape Seed mix. After spraying the loaf with water I tried scoring the bread and sprinkling sesame seeds on top which worked really well. I will be trying to find a way to cook this in the camp oven on the fire, or on a gas burner as I want to find a way to make it without an oven. Will keep you posted!
Enjoy!